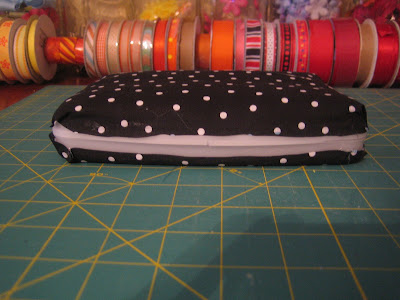
Wipee Case Tutorial
Some of you have asked, so here it is- Directions on how to make a No Sew Padded Diaper Wipee Case. (I think the name is more complicated than the craft itself!)
Seriously, you can probably find a better tutorial on someone else's blog with better pictures, but hopefully this will suffice! :)
Wipee Case
Supplies:
Travel Size Wipe Case (I found mine for $.99 @ Target with the travel size shampoos.)
Batting
Fabric
Scissors
Hot glue gun
Decorative trim or ribbon
Cardstock (For making the pattern)
Sharpee Marker
Embellishments
Directions:
Place wipee case on top of cardstock and trace around the top and bottom of the diaper case to make a pattern. Cut about 1/2" bigger than the lines you traced to compensate for the sides and batting.
Place wipee case on top of batting and trace the top part of case and cut out. Some people cut a piece of batting for the bottom too, which makes it extra cushy. I have done both and prefer only having batting on the top, but that’s just me and this is my tutorial!
Place pattern on top of fabric. Some people pin the pattern to the fabric and then cut. I save time and just hold the pattern on top of the fabric as best as I can and then cut. I don’t care about perfect lines since they will be covered by the trim anyway! (I sometimes even just trace the pattern onto the fabric with my marker, but don’t tell any perfectionist!)
Glue batting in place on top of the diaper case.
Glue the fabric to the back first and pull it over the batting then glue it to the front. Like so-
Next, glue both the sides. I glue the sides first and then glue the corners last. Remember, the decorative trim will hide a lot. Be careful not to use too much glue as it will seep over the edge and glue the case shut. (Yes, I have done this!)
Cut off excess fabric that hangs over. Again, no perfect lines needed as the trim will cover it.
If you want to add a ribbon on the top for an embellishment (which seems to be pretty popular) you would glue that in place now so that the trim covers the edges of your ribbon too. If not go to the next step.
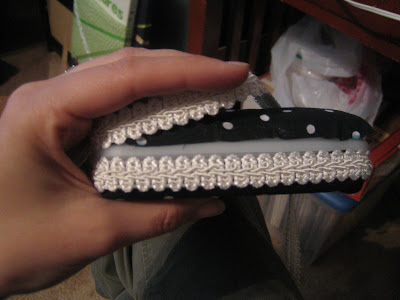
Start gluing the trim in the middle of the back of the case on the top half. Glue all the way around, making sure you don’t cover the opening slit of the case. (Yep, done that one too!)
Now do the same with the bottom edge of the case. Here is a picture- except it looks like I did the bottom first; really its just turned over for convenience while gluing .
No you are ready to embellish! Embellish any way you would like!
TaDa! This is what it should look like all completed.


